So, we’re on to the project of the entryway/hallway table we saw and liked on Instagram. If you haven’t already seen the project overview, take a look here. We cover where we saw it and some things you’ll need to address if you want to take on this build. In short, you have to adjust to the realities of using construction-grade lumber in a furniture project.
The Entry Way Table Inspiration
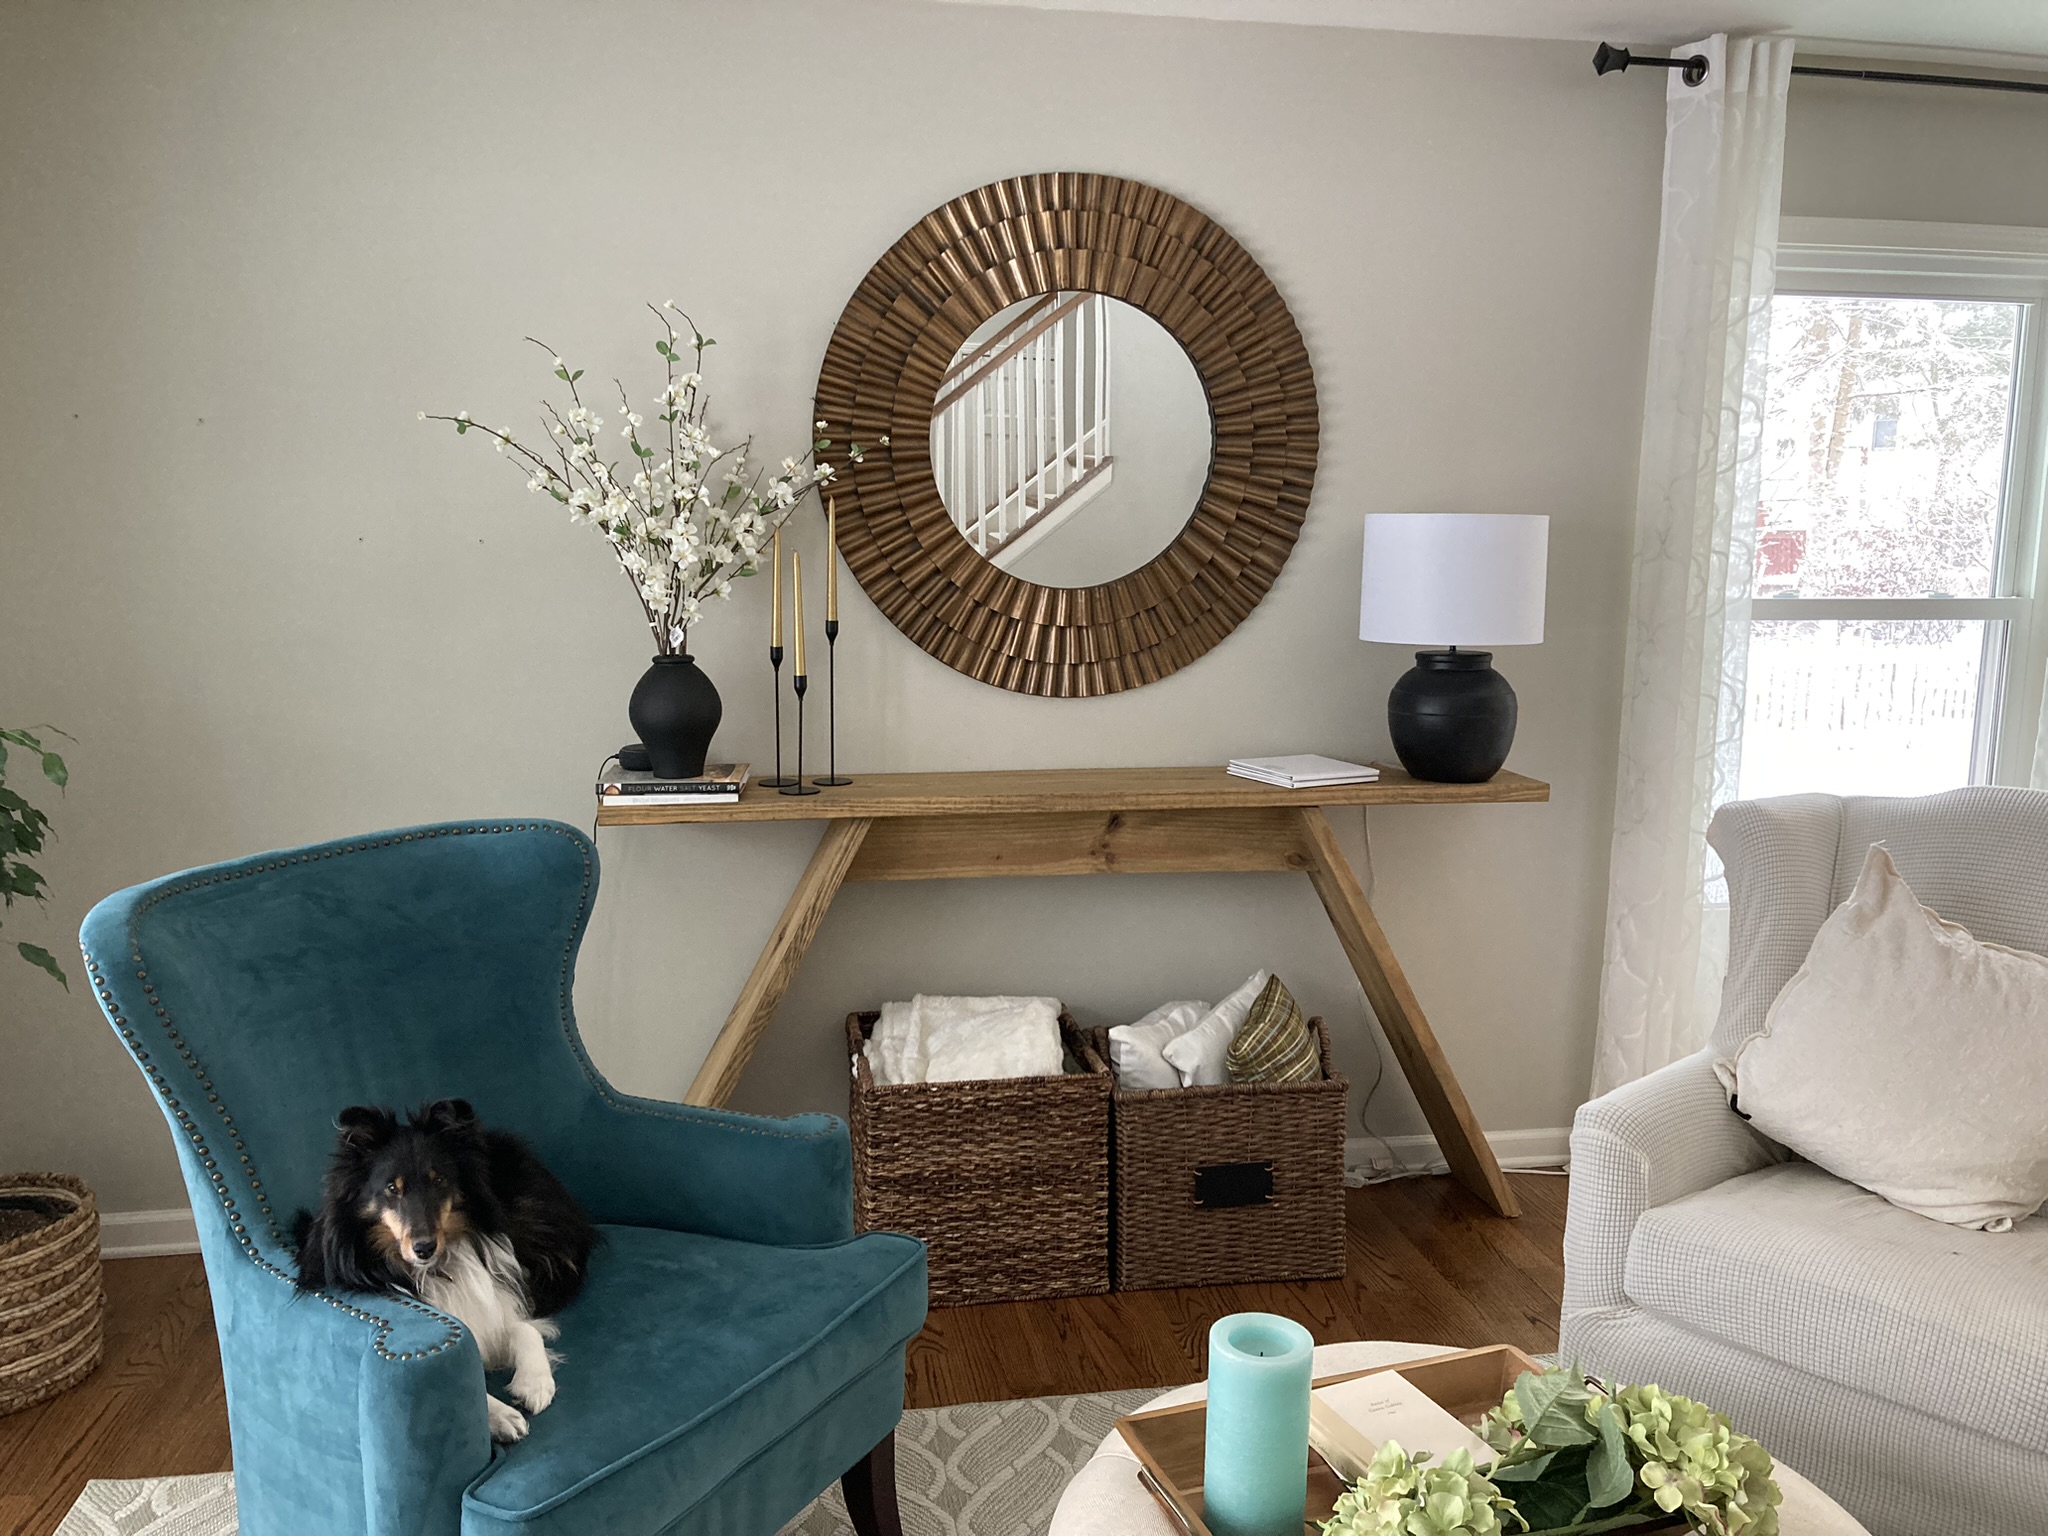
Here is the inspiration for the project. The design for the table and the decor came from Jessica Kimball on Instagram.
The table top is 2″x12″ by 6′ 2″ long with Legs that are 2″x”8″ by 39 1/2″ long and a brace between them.

Selecting lumber for the table
This project is made from inexpensive construction-grade lumber from Home Depot. The different dimensions mean the source of the wood for the top, legs, and brace will come from different ages and sizes of trees. Typically, this means the 2×6 lumber will look very different than the 2×12 lumber. If you have a table saw and can rip the wood, I’d go with all one-size (2×12)rough lumber and mill it to size.
We went with 2×12 for the top, and 2×8 for the legs then ripped another 2×8 to 2×6 for the brace. The 2×6 stock was just way too different from the rest for our taste. You may like the way the different gain patterns work, so a 2×6 stock could be ok for you. Select based on your preference.
No Boards are Perfect
One thing you will need to do, though, is sort through a lot of lumber to find boards that are relatively straight, unbent, and unbowed. When you are selecting the lumber for this project, take your time to find the best that is available. Nothing will be perfect, so come as close as you can get.
Supplies needed to build the table
Minimally, here are the lumber, tools, and fasteners you should have for the given instructions.
- Circular Power Saw
- Drill, Drill bit (diameter size for the wood screws you use)
- 2.5″ wood screws (8+)
- Screwdriver
- Sandpaper & sanding block
- 80 grit, 120 grit, 220 grit (you can go higher if you want)
- Power sander(optional, but helpful): belt or orbital
- Pre-Stain Wood Conditioner
- Stain, brush/rags
- Wood:
- Top: 2″x12″ by 6′ 2″ long.
- Legs 2″x”8″ by 39 1/2″ long.
- Brace 2″x 6″ by 41″ long.
In addition, we used a miter saw, chisel, mallet, glue, and dowels. I’ll explain later.
All angles are cut at 28 degrees
Prepping the wood
If you are lucky enough to have an electric planer or are skilled enough with a hand plane, you can get a relatively smooth service in short order. Most people do not have either. So, be prepared to sand.
The lower the grit number, the rougher the sandpaper is. To start, you’ll have a fair amount of wood to remove, so start with a low number (rough) grit sandpaper. I used 80 to start.
Once you see that the 80 grit no longer changes the feel of the wood, move up to 120. Then, go to 220.
Between each grit, remove the sawdust from the prior grit. You may even want to just clear as you are sanding. Leaving the sawdust introduces a rougher abrasive to the higher grit, reducing its effectiveness.
The sanding started with a belt sander to get the “big” stuff, then an orbital sander and finally sanding by hand.
Why you should care about sanding.
Sanding accomplishes a few things. 1) Rough lumber is uneven naturally as well as marred during transport. Sanding evens the surface, which makes it feel nicer to the touch. 2) Unsanded lumber accepts stains unevenly. Starting with construction-grade softwood already lowers the ability to stain the pieces evenly. Not sanding them will compound the problem.
Cutting Pieces For Entry Table
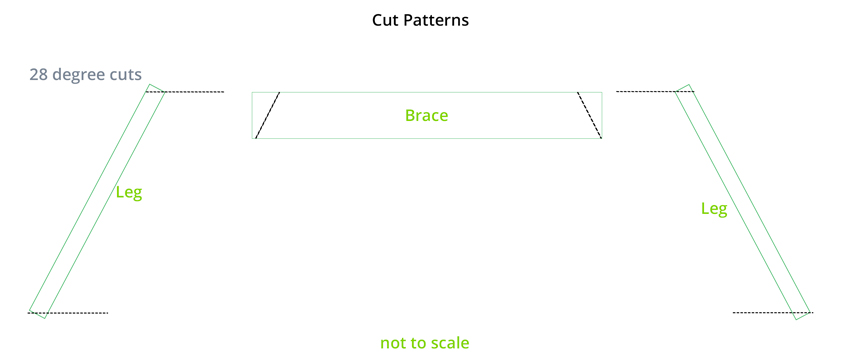
The top is a simple cut-to-length at six feet two inches. The other three parts need to be cut at a 28 degree angle on each end.
The legs are two parallelograms cut to 39.5 inches in length. The piece is a trapezoid, 41 inches long at the longest side. Below are the cut patterns for the pieces
- Top: 2″x12″ by 6′ 2″ long.
- Legs 2″x”8″ by 39 1/2″ long.
- Brace 2″x 6″ by 41″ long (with no tenon).
Assembling the Table
Following the instructions on Instagram, you would simply screw the parts together. And, if you want just to fish this off, you can do that. But I wouldn’t… I didn’t.
As mentioned in the intro article to this project, I am not confident that screws will hold the joints for long. The weight of the lumber is enough to put a lot of tension on the joints. The torque will put even more pressure on the joints if you move it. Screws in the end grain don’t have much grip. Given the weight and pressure on this piece, I think the screws will soon come loose.
At the very least, use good wood glue on the joints. I still don’t think this is great, but it is better than just using screws.
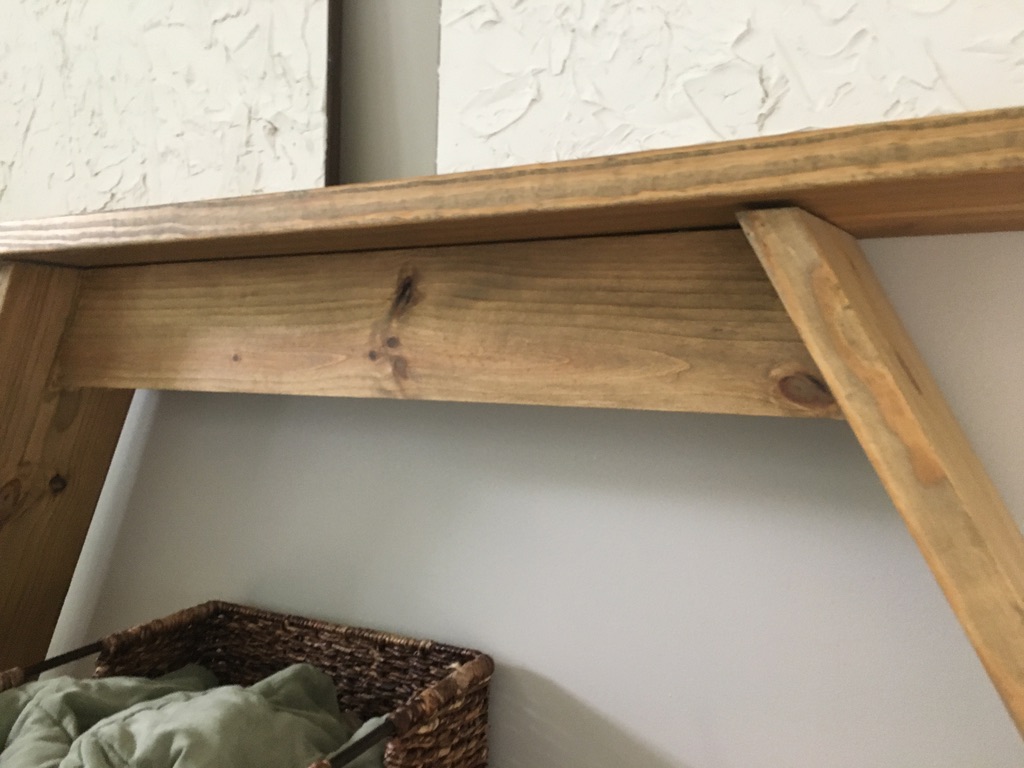
Mortise & Tenon
To make the brace-to-leg joint stronger, I used mortise & tenon joinery. If you are not familiar with this type of joint, you can see it here. I didn’t use power tools. Instead, I used a mallet and chisel. You can get an idea of how this is done in this Paul Sellers youtube Video. The difference is that I didn’t do a through-tenon, and I had a shoulder all the way around the tenon.
The tenon was just about 1 inch deep into the mortise, about 1 inch wide, and 4.5 inches long. If you do a mortise and tenon join, the brace should be between 42.5-43 inches long, leaving room for the tenons on either end.
For the top, I didn’t screw it on. Instead, I used snug-fitting dowels. The piece is fairly big and heavy. Keeping the top and base unattached made moving it around easier. Using dowels underneath also avoided dealing with exposed screws on the top.
Applying a Finish to the Table
One problem with softwoods is the grain density variation; it impacts how the stain is absorbed. It leads to very different colors on the same board. You can mitigate this with a pre-stain wood conditioner.
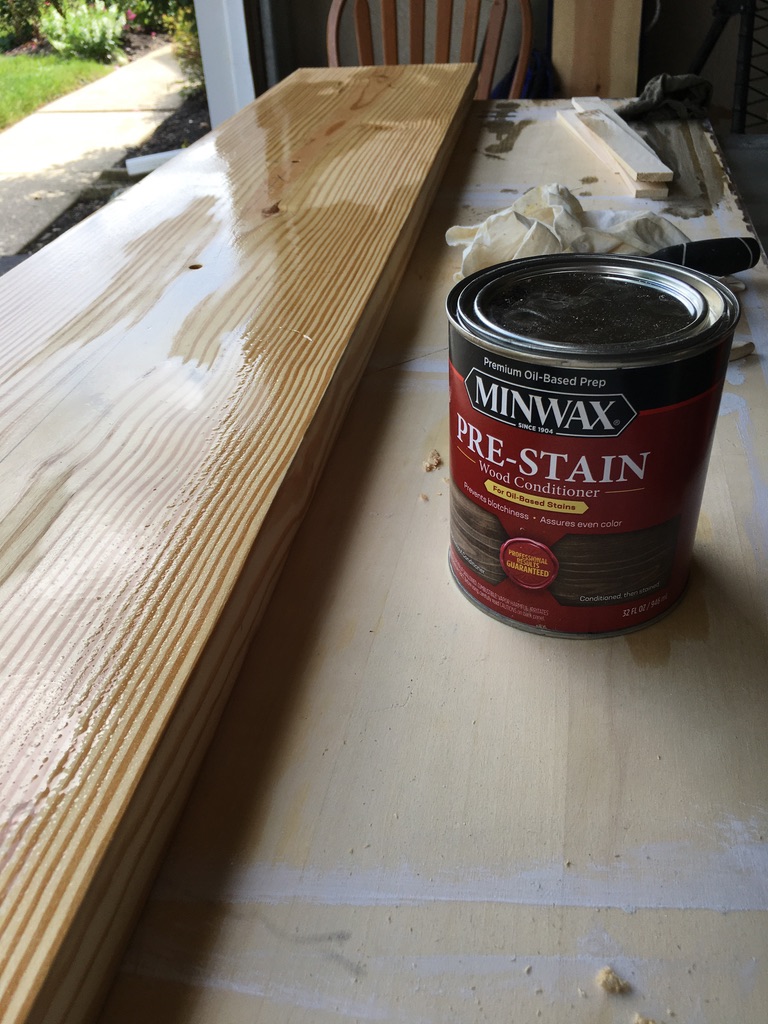
First, apply the pre-stain conditioner to help even the way a board accepts the stain. I used Minwax, but there are others. The effect of the pre-treatment only lasts for a while. So, read the directions well before you start to ensure you have the timing down.
Between the variation in grain density, the effect of the conditioner, and the difference time makes when applying stain, it’s a good idea to experiment with some of the extra wood. Sand it the way you did the actual table pieces and apply the stain in sections for different lengths of time. You’ll get a better idea of how the entire piece will turn out.
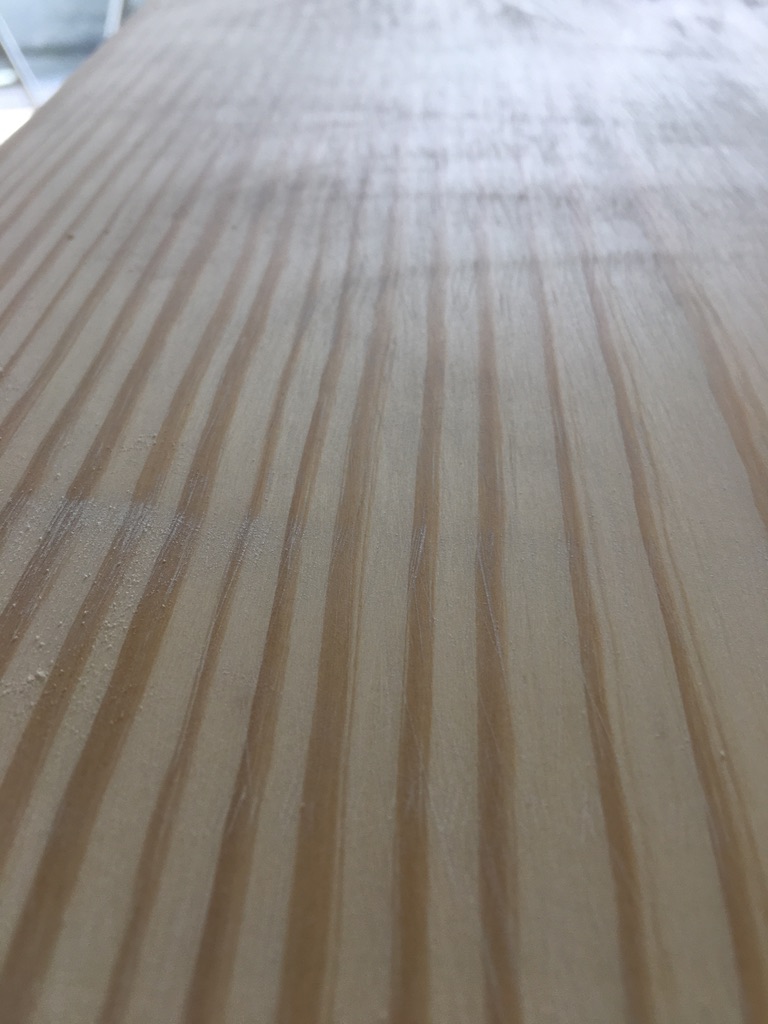
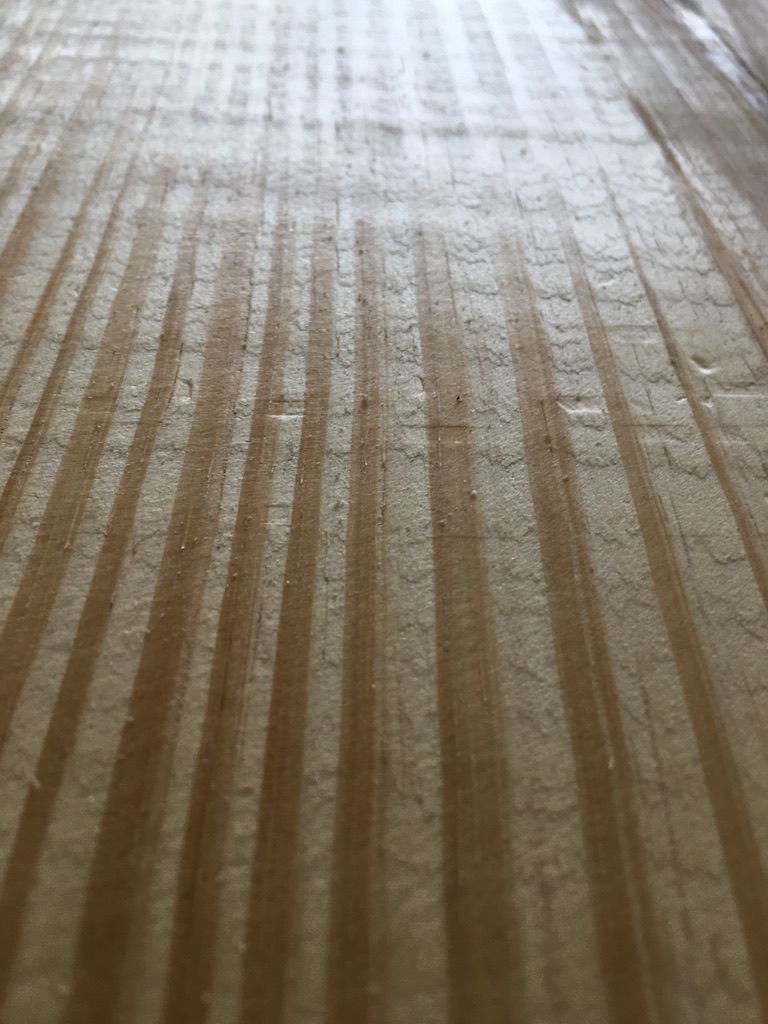
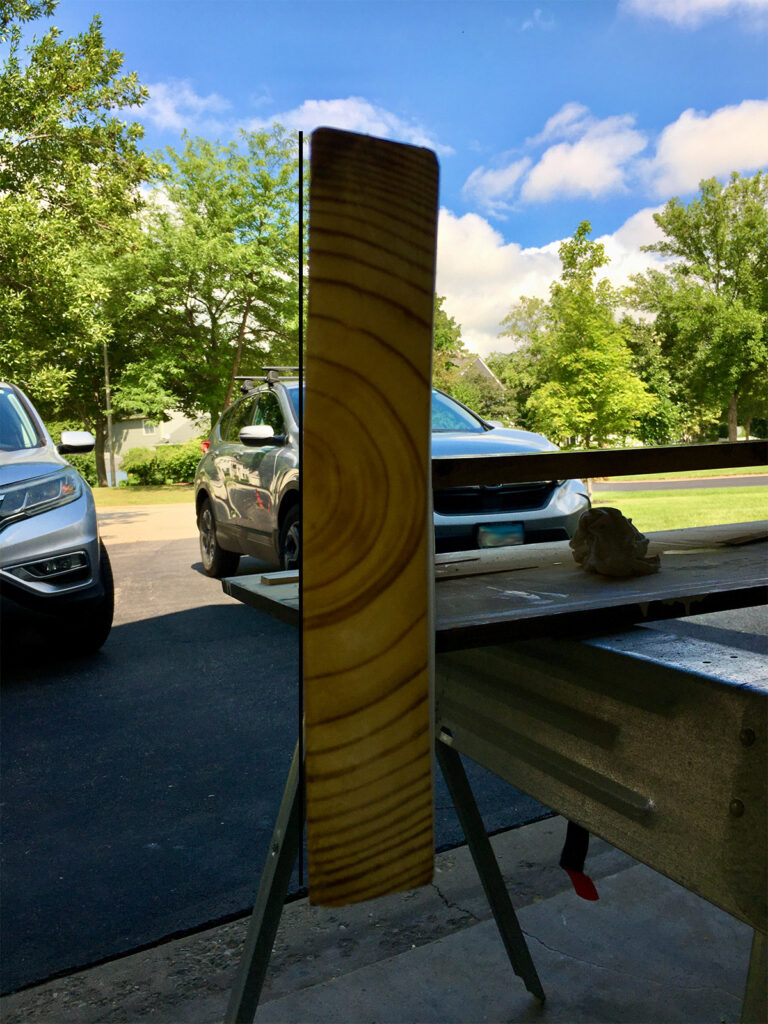
What you might run into with the construction-grade lumber and no joiner or planer
You saw the video above, where the boards are clearly not straight. They can also be bowed like this one.
No sides are parallel or true 90 degrees without a jointer or a planer. As a result, what may appear to be a 90-degree/straight on one end of the board, is not 90 degrees to the other. You end up with a wobble in the legs or a top that doesn’t sit flat.
Since the warping us are under the top, it’s not noticeable unless you look for it.
If the issue is on the legs, you may need to do some trimming or use a shim if you can hide it.
This hallway table is a simple project that takes some time. If you are not too worried about how the stain is taken up, you can shave some time off the project by doing less sanding. Depending on your decor, the imperfections of the construction-grade lumber may be just what you are looking for.